
Last updated September 20, 2026
Full 25-point door and opener safety check with every visit - springs, cables, rollers, tracks, and your LiftMaster or Chamberlain opener included
You get a price before we start. It does not change when the truck arrives.
 Before
 After
After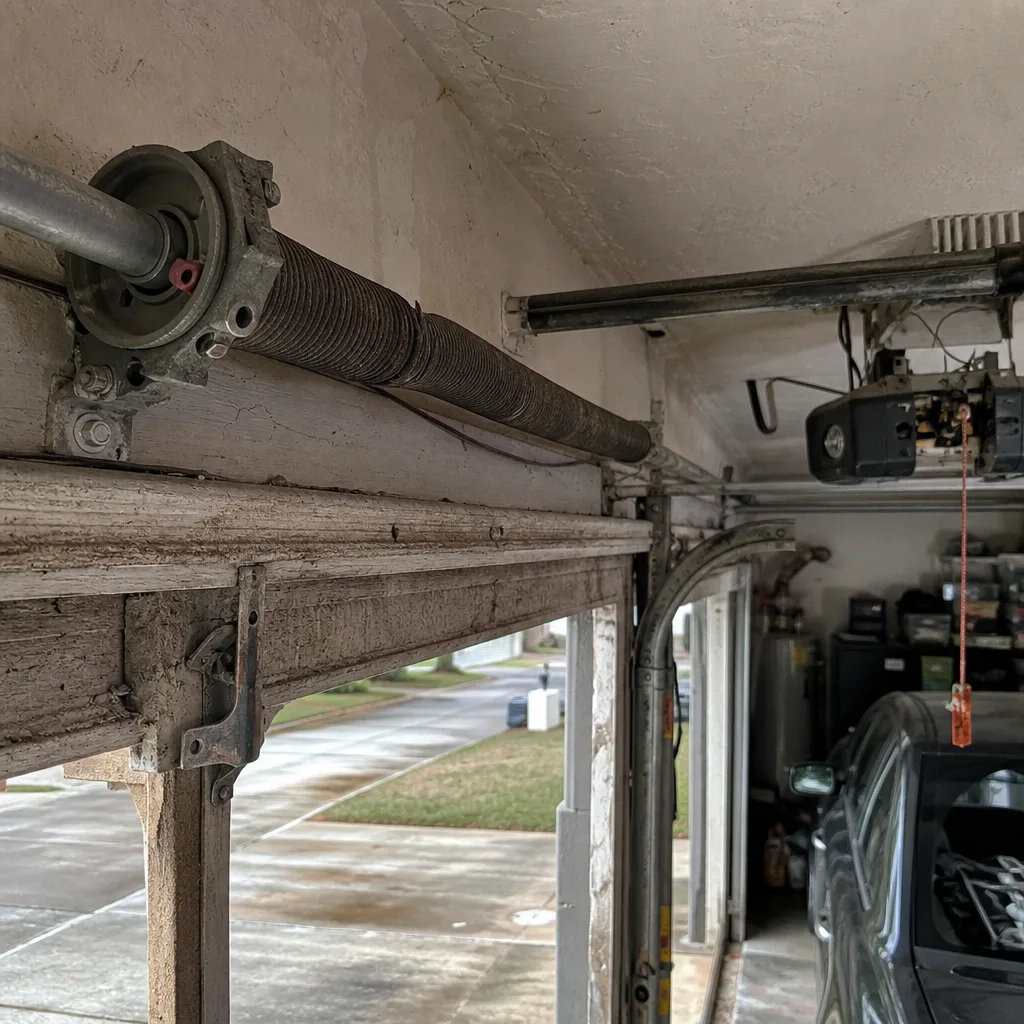 Before
 After
After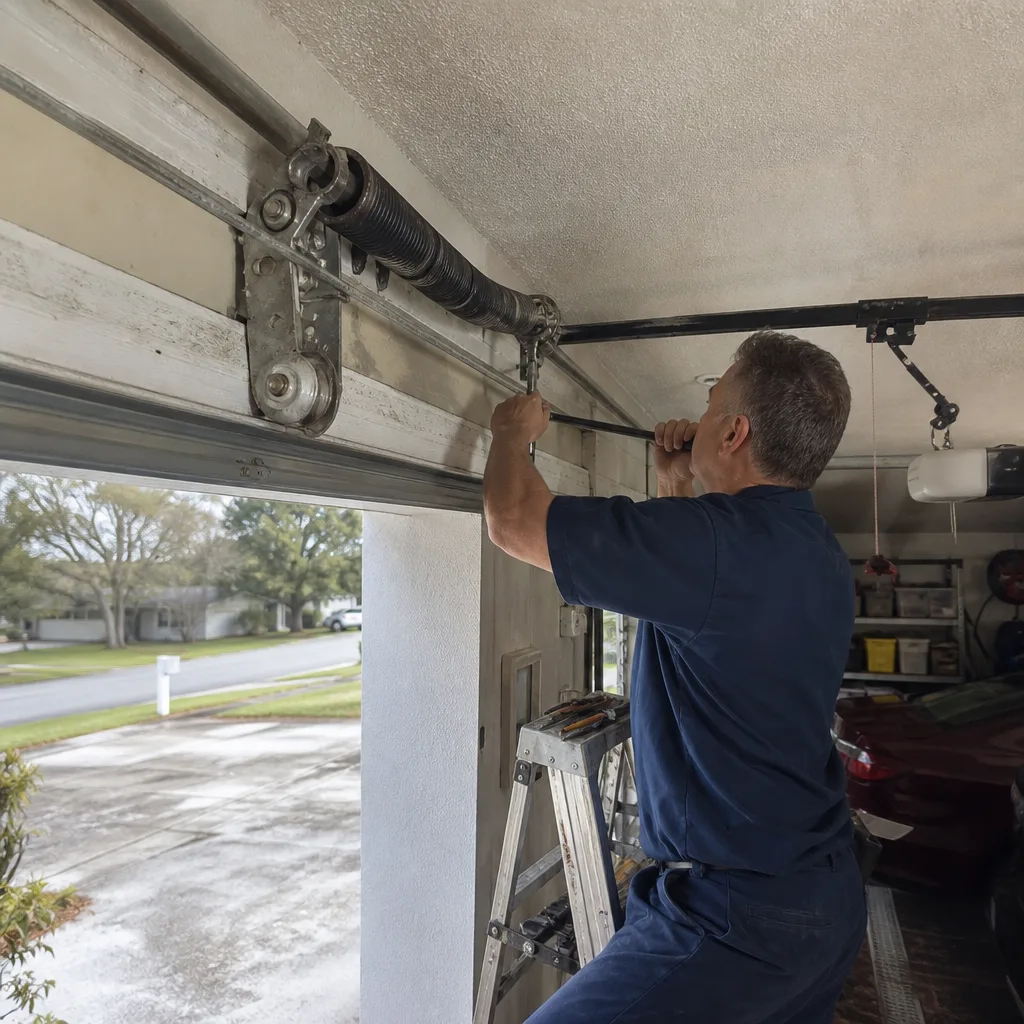 Before
 After
AfterGarage Door Repair Maintenance Checklist for Tampa Homeowners
A standard torsion spring rated for 10,000 cycles lasts roughly seven years in a dry climate. In Tampa’s salt-laden coastal air, the same spring can show surface oxidation and micro-fracturing in under four years, yet it will still lift the door normally right up until the morning it snaps. This guide is a failure-mode checklist built for Tampa specifically: it names the parts that degrade first in our humidity, gives you the exact visual or tactile test for each, and tells you when a finding means lubricate versus replace. You will learn what to inspect, how often, what a worn component actually looks like, and which findings justify calling a technician for Garage Door Repair before the door fails.
Quick Answer
Garage door maintenance in Tampa should be organized around failure modes, not calendar seasons: inspect bottom seals and torsion spring coatings every 60 days, test safety reverse functionality every 30 days, lubricate rollers and hinges every 6 months, and photograph any component that looks unusual before contacting a repair company. The components that fail fastest here are bottom seals from UV and salt air degradation, torsion springs from corrosion-driven micro-fracturing, and roller bearings from humidity-accelerated grit accumulation. A documented inspection, done with the specific tests below, is worth more than any generic seasonal tune-up. For more guides & resources, see our blog.
Table of Contents
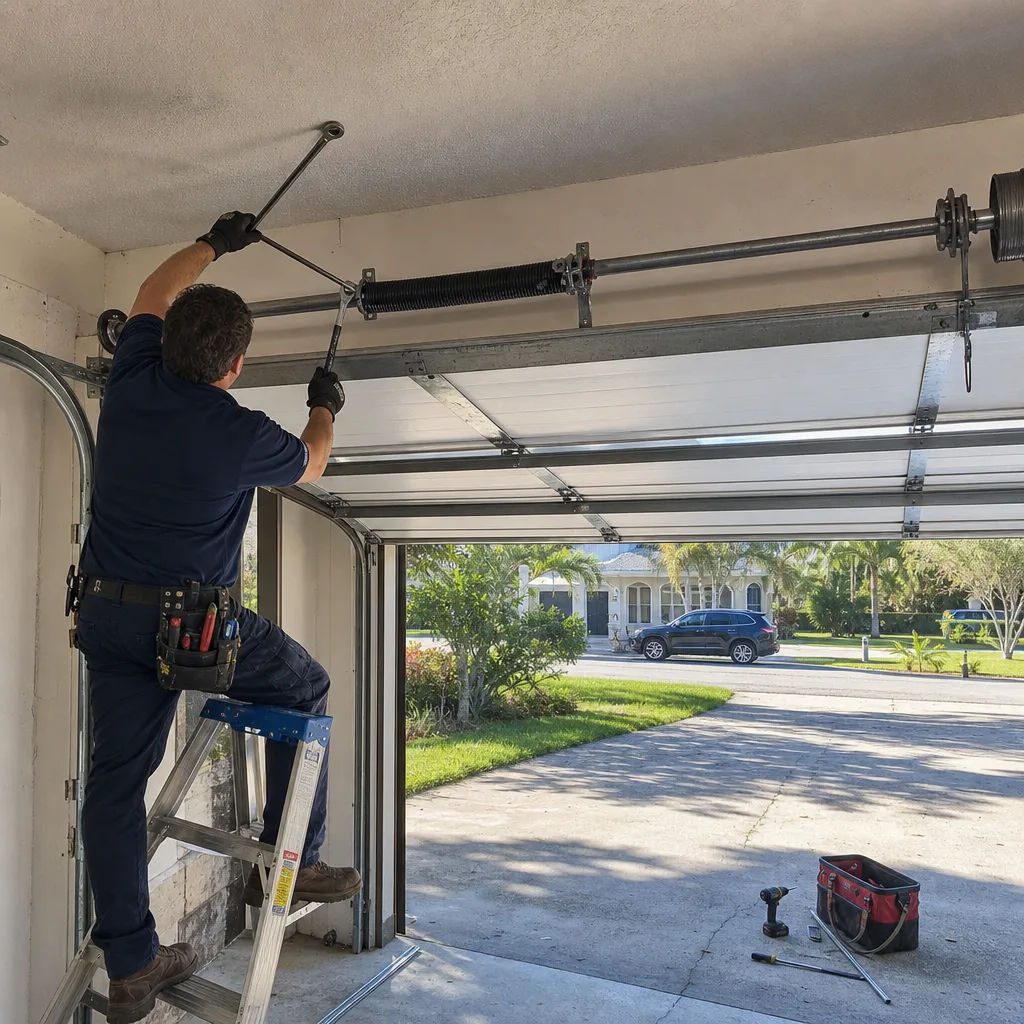
- Why Tampa Maintenance Is Different: Failure Modes Over Calendars
- The Inspection Order: What to Check and in What Sequence
- Bottom Seal Compression Test: The 60-Day Check
- Torsion Spring Inspection: Corrosion, Coating, and Cycle Count
- Cable Drum vs. Cable Wear: How to Tell the Difference
- Roller Bearing Inspection and Lubrication: The Humidity Rule
- Safety Reverse Sensitivity Test: The FTC 2×4 Method
- Photo Documentation Protocol: What to Photograph Before You Call
 Before
 After
AfterWhy Tampa Maintenance Is Different: Failure Modes Over Calendars
Most maintenance checklists tell you to inspect your garage door every spring and fall. That calendar logic makes sense in climates where temperature swings drive component stress. Tampa does not really have those swings. What we have is relentless humidity, salt aerosol from the bay and Gulf, UV intensity that breaks down rubber and polymer compounds, and afternoon thunderstorms that test every drainage path around your garage slab. The components that fail here are the ones exposed to moisture, salt, and sun, and they fail on a corrosion and UV degradation timeline, not a seasonal one.
In our experience across Tampa, from South Tampa to Carrollwood to Brandon, we see a repeating pattern. Bottom seals harden and crack within 18 to 30 months in homes within two miles of the bay. Torsion springs on doors facing south or west, where afternoon UV heats the steel coil, show surface rust and coating delamination faster than identical springs on north-facing doors of the same age. Roller bearings accumulate fine particulates faster because Tampa air carries more suspended dust and salt than inland Florida, and that grit mixes with whatever lubricant is present. If you lubricate on a fixed six-month schedule without inspecting what is actually on the roller, you can accelerate wear instead of slowing it.
The point of this checklist is to make the inspection match the failure. You are not checking whether the door works. You are checking the specific components that are most likely to stop working, in the order they are most likely to stop.
The Inspection Order: What to Check and in What Sequence
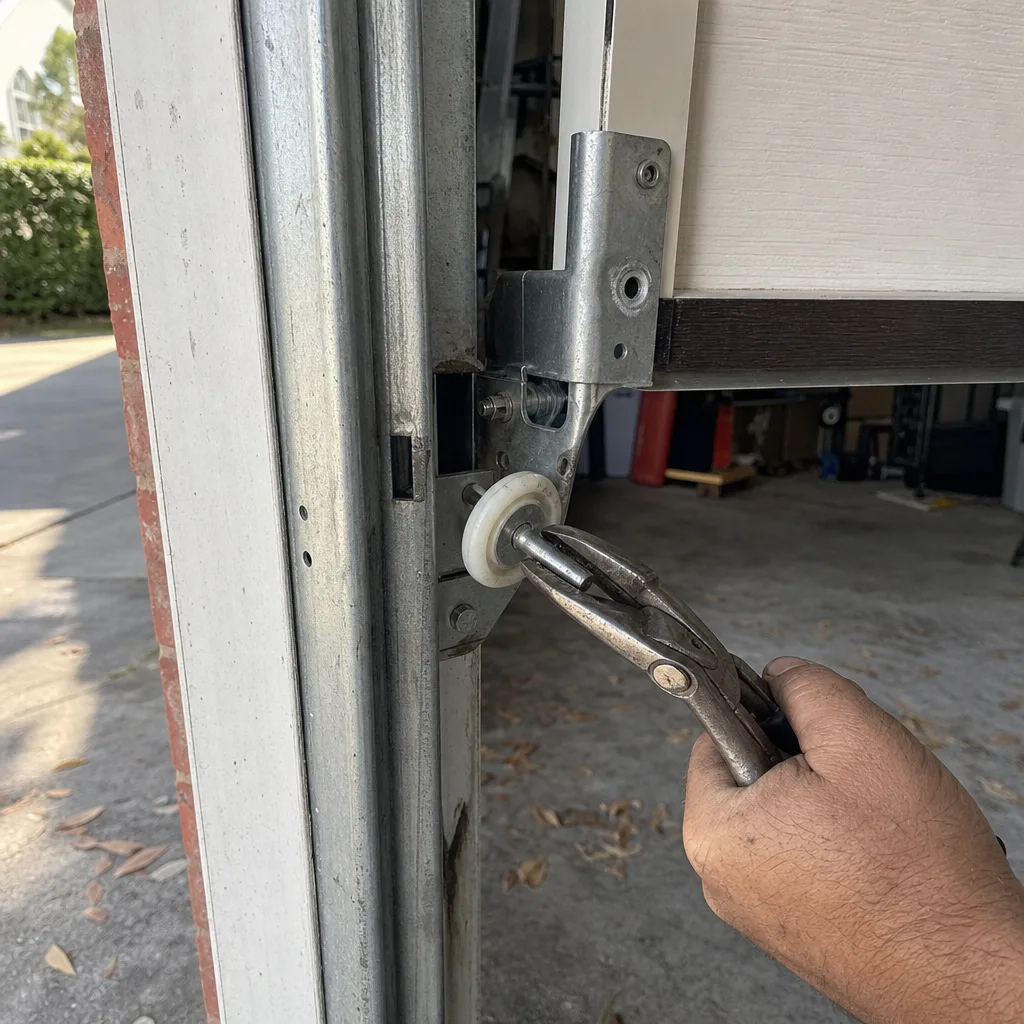
The following sequence moves from the components most likely to fail in Tampa to the ones that fail less often but cost more when they do. Complete this sequence in order, and record each finding with a photo if anything looks outside the normal range described. This is the same order our technicians at Servo Garage Doors Tampa home use when a customer reports a noise, a binding door, or a safety sensor fault.
- Bottom seal and side weatherstripping. Highest failure rate in Tampa due to UV and salt air. Inspect every 60 days. See the compression test below.
- Torsion spring coating and surface condition. Corrosion and micro-fracturing are visible before failure in most cases. Inspect every 60 days, always before hurricane season.
- Safety reverse function. Required by federal code and the most common source of household injury. Test every 30 days using the FTC 2×4 method in this guide.
- Roller bearings and tracks. Lubricate every 6 months, but inspect first. Dirt accumulation on a lubricated roller creates an abrasive paste.
- Cable drums and lift cables. Inspect for fraying, flattened strands, and lag between drum and cable every 90 days.
- Hinges, brackets, and mounting fasteners. Look for wallowed holes, loose lag screws, and cracked hinge plates every 90 days.
- Opener force settings and travel limits. When the opener begins to change behavior, document it with your photo record before calling anyone.
This order disconnects maintenance from the calendar. If you live in Hyde Park and your door faces west, you will inspect the bottom seal more often than someone in New Tampa with a north-facing door under tree cover. The inspection is driven by what your specific door is actually exposed to.
Bottom Seal Compression Test: The 60-Day Check
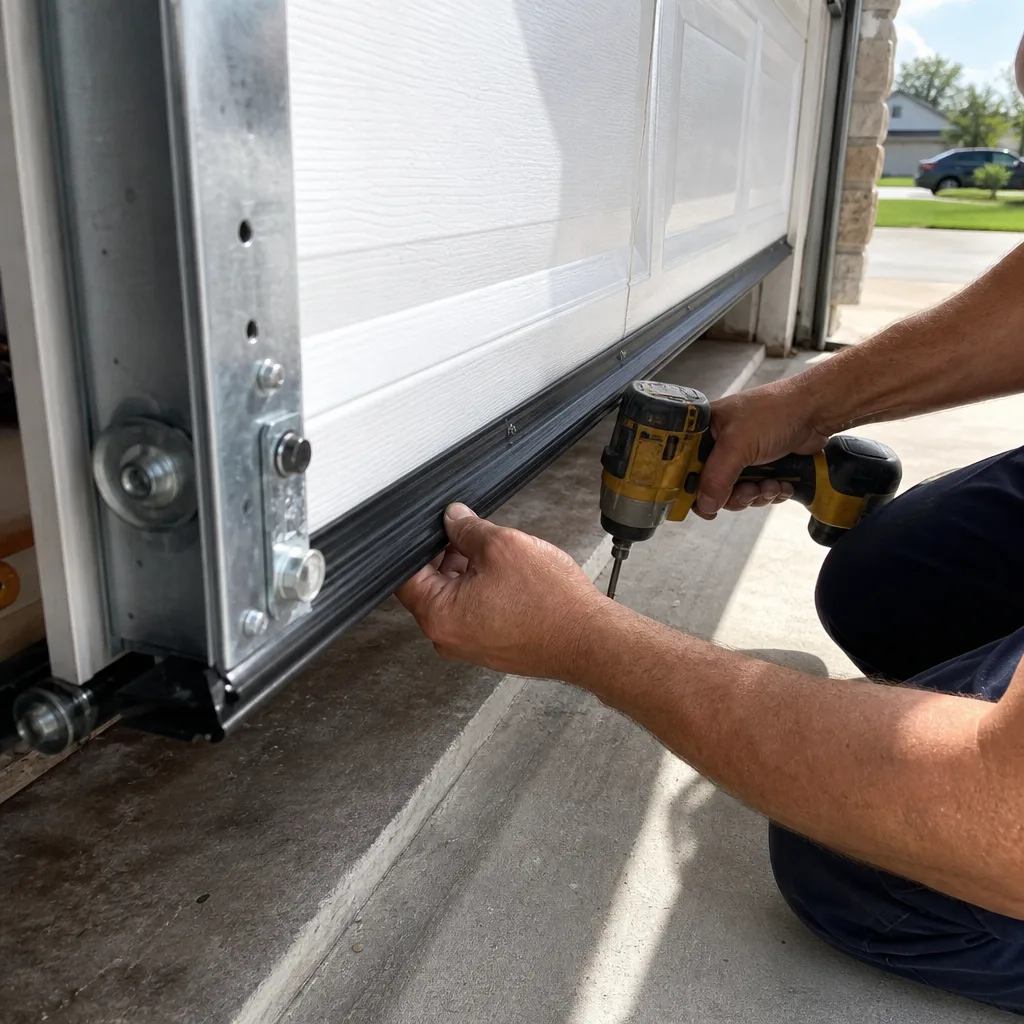
The bottom seal is a U-shaped rubber or vinyl extrusion that runs along the lower edge of the door and compresses against the garage slab when the door closes. Its job is water, insect, and debris exclusion. In Tampa, the sun degrades the rubber compound and the daily summer rain finds every crack. Here is the test that tells you when the seal is done.
The compression test: With the door closed in daylight, crouch at one corner and look along the floor line from the inside, where daylight should not be visible. Then slide a standard sheet of printer paper under the closed door at the center point. If the paper slides through with no resistance, the seal has lost compression in that zone. Repeat at each corner. Visible daylight or zero resistance at any point means the seal is no longer excluding water. In Tampa’s flood-prone streets, a gap of even one quarter inch along the bottom seal sends water into the garage during a heavy afternoon storm.
What to expect: A properly compressing seal will feel tacky to light pressure, and the paper will catch or wrinkle when you try to slide it underneath. If the seal is hard, cracked, or leaves chalky black residue on your fingers when you rub it, the polymer has broken down regardless of compression performance.
Replacement timing: Most bottom seals in Tampa last 18 to 36 months. If you are replacing one more often than that, the channel itself or the slab surface may be the issue. Photograph the seal from the inside and outside before calling anyone, and note the exact gap measurement. A technician who has seen the photo can quote a flat, written price for the specific seal replacement before they arrive, which is how we handle every repair we price.
Bottom seal replacement is one of the lowest-cost, highest-value maintenance items in this climate. Delaying it means standing water in the garage, rust on tool cabinets, and warping of stored boxes. It is also one of the repairs that homeowners can often verify the need for without any tools beyond a sheet of paper.
Torsion Spring Inspection: Corrosion, Coating, and Cycle Count
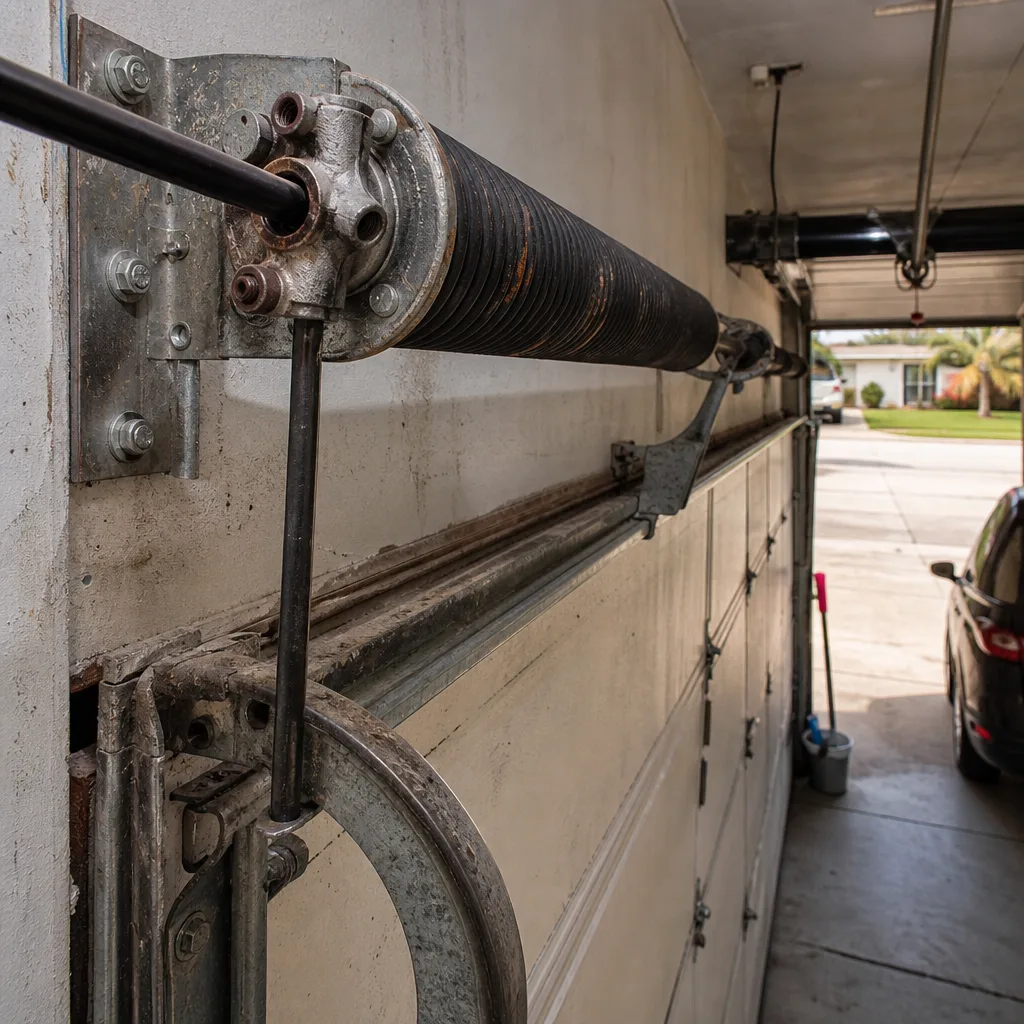
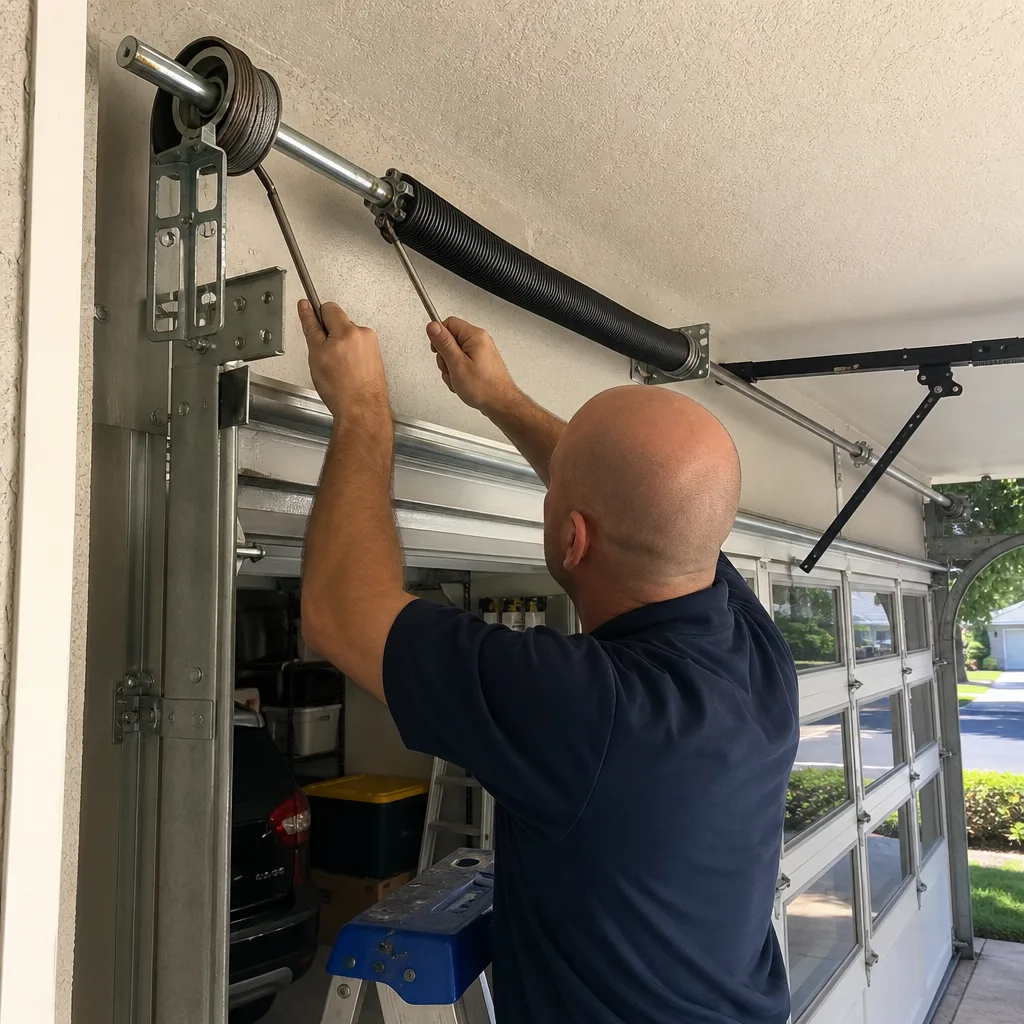
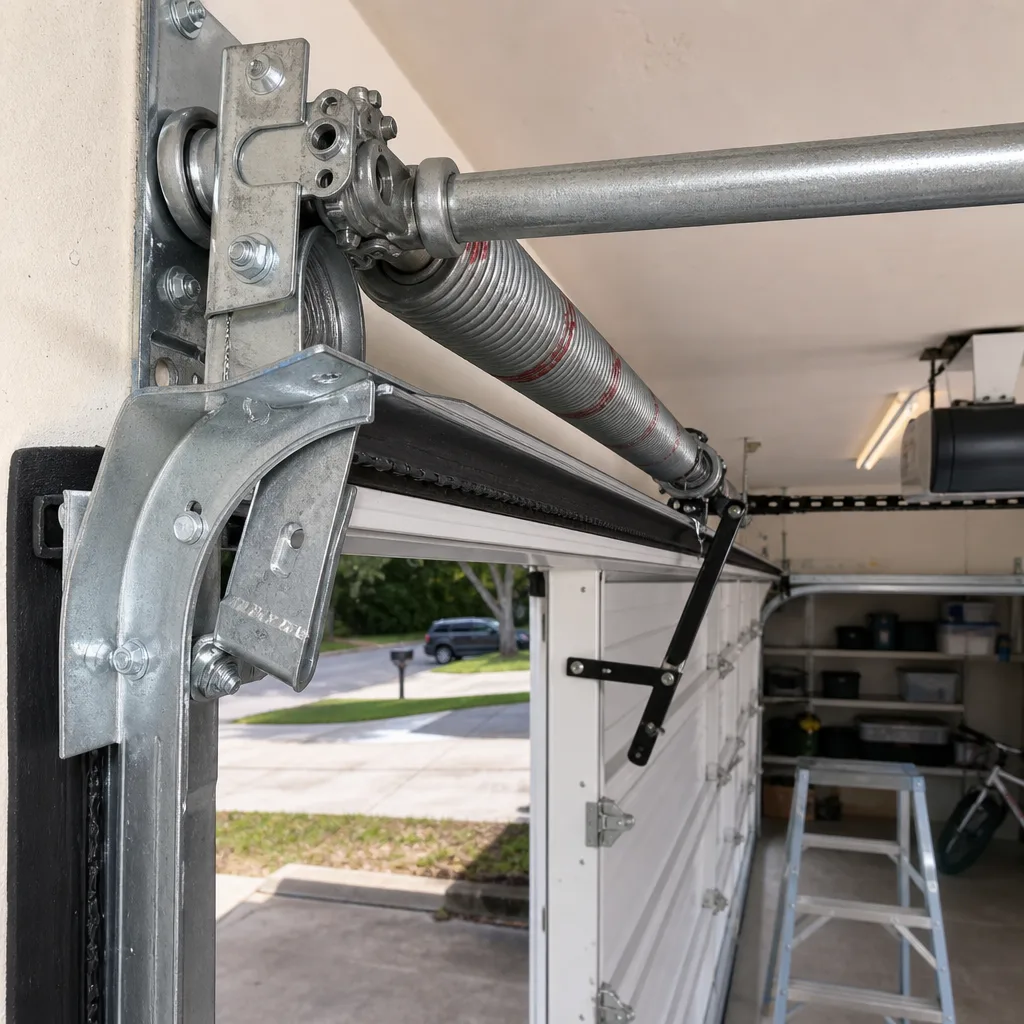
The torsion spring is the component that stores the lifting energy for the door. It is the most dangerous part on the door when it is under tension, and the most expensive single part to replace when it fails. In Tampa, the primary failure mode is corrosion-driven surface cracking, which is accelerated by salt in the air and high relative humidity. This inspection is visual only. Do not touch the spring assembly.
What you are looking for: Use a flashlight and inspect the visible length of the spring coil from the side. Look for:
- Surface rust: Light orange oxidation is typical on uncoated steel springs after a few years in Tampa. It is the coating delaminating that matters more than the surface color.
- Coating peeling or flaking: Many springs carry a powder coat or oil coating. When it flakes off in visible patches, the underlying steel is directly exposed to humid, salt-laden air.
- Fine crack lines: These are dark, hairline marks running across the coil, not along it. They are only visible under direct light at close range. This is the finding that matters most, because it precedes a snap.
- Uneven coil spacing: If one section of the spring looks stretched while the rest is tight, the spring has settled or been improperly adjusted.
What the failure actually looks like: When a torsion spring breaks, it usually fails at a single point along the coil. The break is clean and perpendicular to the wire direction, and it releases the spring’s stored energy instantly. The door will not open with the opener when this happens, and attempting to open it manually is a serious hazard. If you observe any of the signs above, call a qualified technician before the spring reaches that point.
Life expectancy in Tampa: A standard 10,000-cycle spring might last seven years in a cool, dry climate. On a south-facing door in South Tampa or Davis Islands, with salt exposure and high afternoon heat, the same spring can show dangerous surface condition in three to four years. If your spring shows coating loss and hairline cracks before the four-year mark, the failure mode is environmental, not a manufacturing defect. This is the finding that justifies early replacement on your terms, before the door is stuck open.
When we replace a torsion spring, the technician measures the wire diameter with a caliper, photographs the failed spring in place, and delivers a written scope and flat price before any work begins. That photo record of the failed component is part of every visit, and it traces back to the founding rule of our documentation system: show the failed part, then quote the replacement. If you are getting a second opinion, bring the paperwork. We will match the comparison against what we find on the door, not against what another company wrote down.
Cable Drum vs. Cable Wear: How to Tell the Difference
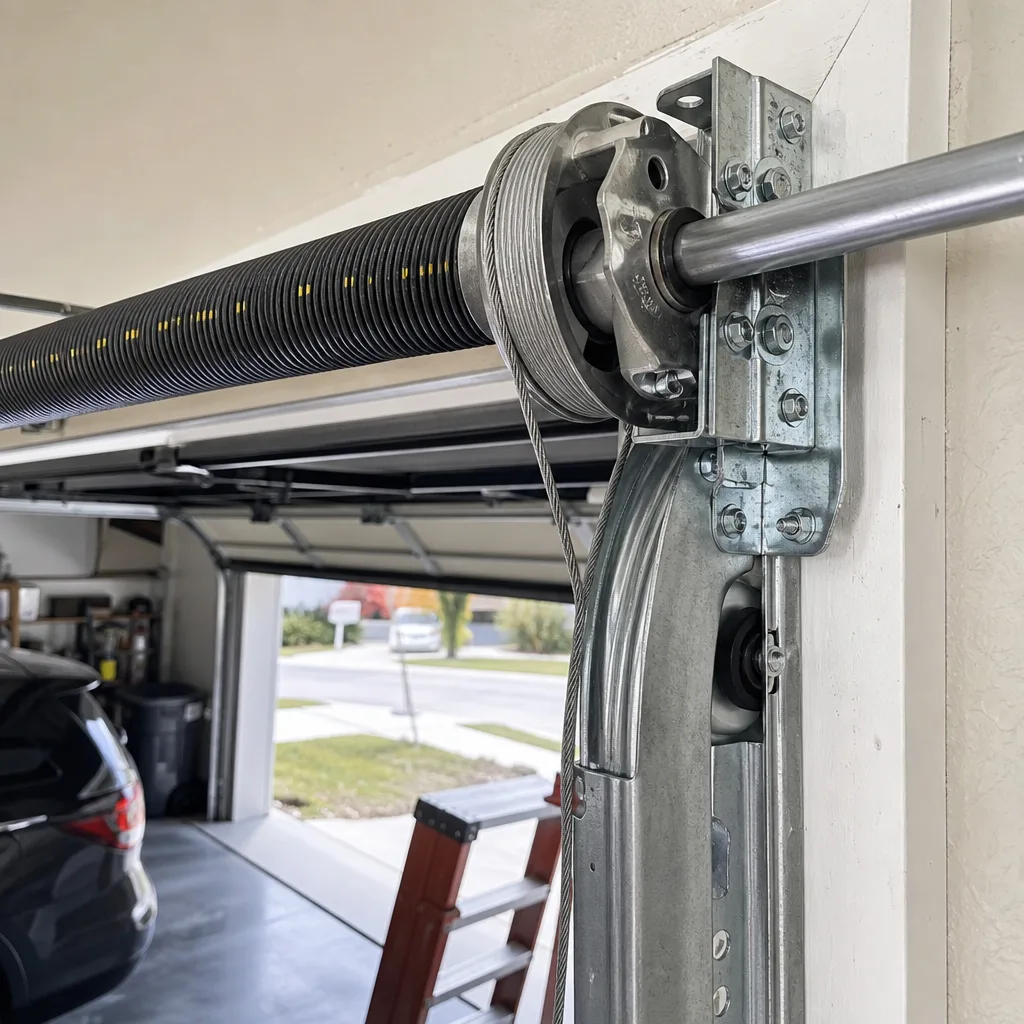
This is the distinction most checklist articles either skip or get wrong. The cable drum is the grooved, machined aluminum casting at each end of the torsion shaft. The lift cable is the steel wire rope that winds onto the drum and connects to the bottom corner bracket. They wear differently, fail differently, and require different repairs. Confusing them leads to replacing a perfectly good cable while the real problem, a worn drum, keeps chewing through the next cable you install.
A worn cable looks like this:
- Flattened or shiny sections along the wire rope where individual strands have been crushed.
- Broken strands that stick out from the main bundle, usually near the bottom bracket or where the cable feeds onto the drum.
- Corrosion that has turned the galvanized steel dark brown or black, concentrated near the drum or the bracket.
A worn drum looks like this:
- Visible grooves that are no longer uniform depth. One section of the groove looks shallow or polished smooth.
- Chipped or fractured groove edges, especially at the flange of the drum.
- A cable that does not sit down in the groove consistently but rides up on the drum wall in one spot.
Why mistaking them matters: If you replace a cable because it looks frayed, but the drum groove has worn edges, the new cable will contact the same damaged surface and fail again, often within months. The correct repair is drum replacement or, in some cases, drum and cable replacement together. A technician who photographs the drum and shows you the groove wear before quoting a cable has done the diagnostic work right. A technician who replaces only the cable is betting on the wrong failure mode.
In Tampa homes with older doors, drum wear is more common than most people assume, because salt air accelerates aluminum surface oxidation and the drum grooves lose their smooth profile. If you see any of the above on the drum, photograph it with your phone and keep the image. It is the evidence you need when you talk to any garage door repair in Tampa company about pricing.
Roller Bearing Inspection and Lubrication: The Humidity Rule
Roller bearings are the wheels that carry the door up the vertical track and around the curved horizontal track. Most residential doors use steel rollers with ball bearings inside, or nylon-rimmed rollers over a steel bearing. In Tampa, the failure mode is rarely a broken wheel. It is fine particulate contamination in the bearing, combined with over-lubrication that turns the grit into an abrasive paste.
The rule for Tampa humidity: Lubricate less often and more precisely than the generic advice says. A light silicone or lithium-based garage door lubricant applied once every six months to the roller bearings, hinges, and torsion spring coils is appropriate for most Tampa doors. But the lubricant only helps if the bearing is clean. Oil-based lubricants and penetrating oils attract and hold dust, and Tampa air carries more of that dust than most places. If you spray a general-purpose oil into a roller bearing every three months, you are holding grit against the bearing surface and wearing it out faster.
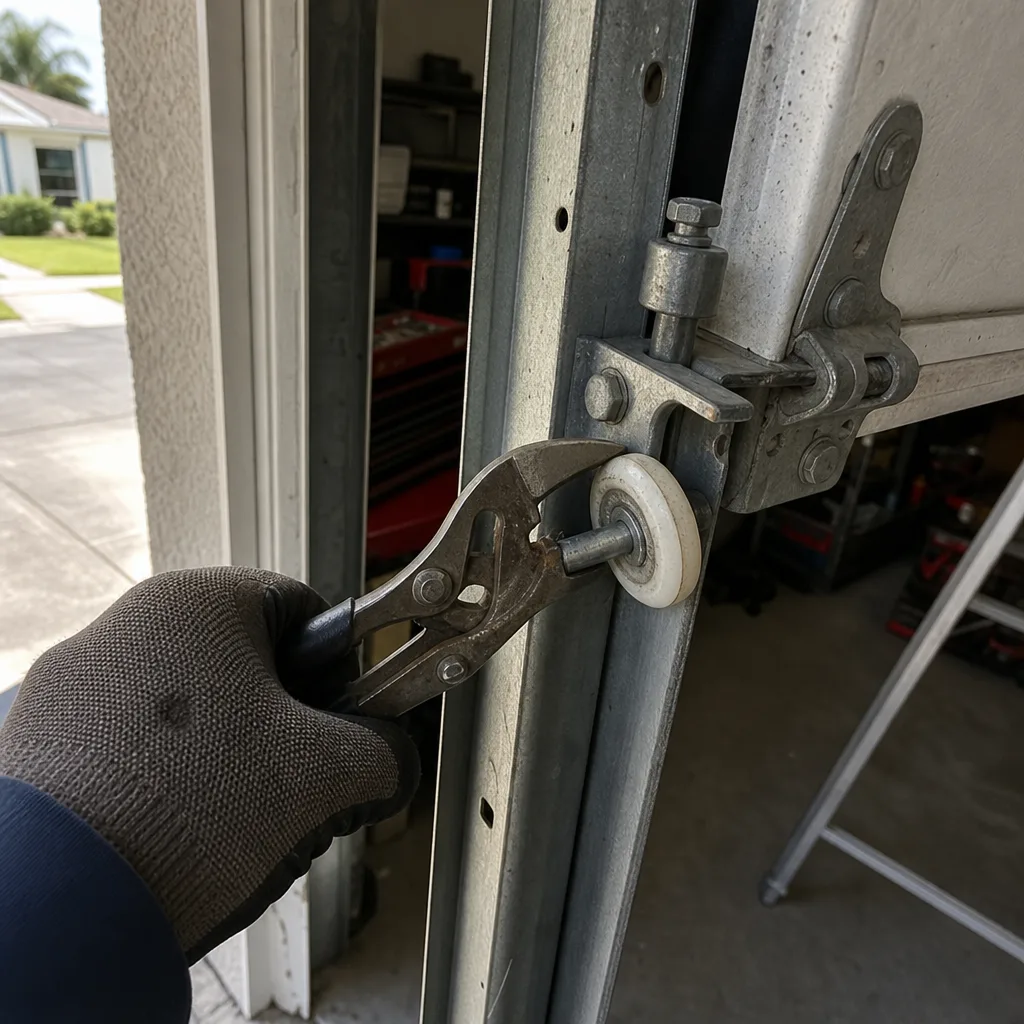
How to inspect a roller bearing: With the door closed, roll each roller by hand at the track. A healthy roller spins freely with no visible wobble. A failing bearing feels rough or catches at one point in the rotation. You may hear a dry, high-pitched sound when the door moves under opener power. This is not a lubrication problem at that stage, it is a bearing replacement situation.
What to lubricate and what to leave dry:
- Lubricate: Roller bearings, hinge pivot points, torsion spring coils (lightly, to displace surface moisture), and the top of the track where the rollers meet the steel.
- Leave dry: The track itself. Lubricating the track does nothing for the roller bearing and creates a film that holds dirt. The bottom seal should also stay dry; lubricants accelerate rubber degradation.
- Never: Use WD-40, motor oil, or grease on any garage door component. They leave residue that collects grit and turns to sludge in our humidity.
When one roller fails, others are usually close behind. If you confirm two or more worn bearings, the cost-effective repair is a set replacement of all rollers, not one at a time. A good technician will tell you which rollers are failing and which are still serviceable, and will show you the worn bearing before quoting. That is the difference between a maintenance visit that documents the door and one that just sprays lubricant around and leaves.
Safety Reverse Sensitivity Test: The FTC 2×4 Method
Every automatic garage door opener sold in the US since 1993 must reverse when it encounters an obstruction. The test standard is set by federal regulation and uses a 2×4 lumber block laid flat on the floor. This test is the single most important safety check you can perform, and it tells you more than just whether the reverse mechanism works. A door that reverses correctly under a low-force test but fails or hesitates under the 2×4 method usually has an opener motor or force circuit that is degrading, not a simple misalignment.
The test procedure:
- Place a standard 2×4 board flat on the garage floor directly under the center of the door’s path.
- Close the door using the opener.
- Watch the door as it contacts the board. It must reverse direction within approximately two seconds of contact and return to the open position.
- Repeat the test with the board placed at each side of the door, at the left and right edges of the opening.
What a failure means: If the door does not reverse, or reverses slowly, or crushes the board and stalls, the opener’s force setting or the door’s travel mechanism has changed. This could be a misaligned travel limit, a worn gear in the opener, or failing capacitor in the motor circuit. A door that passes the test but sounds strained when lifting could still have a developing issue. Document what you observed, including the board position and the door’s response, before calling any garage door opener repair service.
Frequency: Perform this test every 30 days, and after any work is done on the door, the opener, or the springs. If you live in a neighborhood like Seminole Heights or West Tampa where many homes still have older opener units, test more often. An opener that is fifteen years old in Tampa has been through enough humidity cycles that its force circuit components are suspect until proven otherwise.
This test is required by code, not optional. If a technician tells you the door is fine without running this test, that is a diagnostic omission, not a time-saving courtesy.
Photo Documentation Protocol: What to Photograph Before You Call
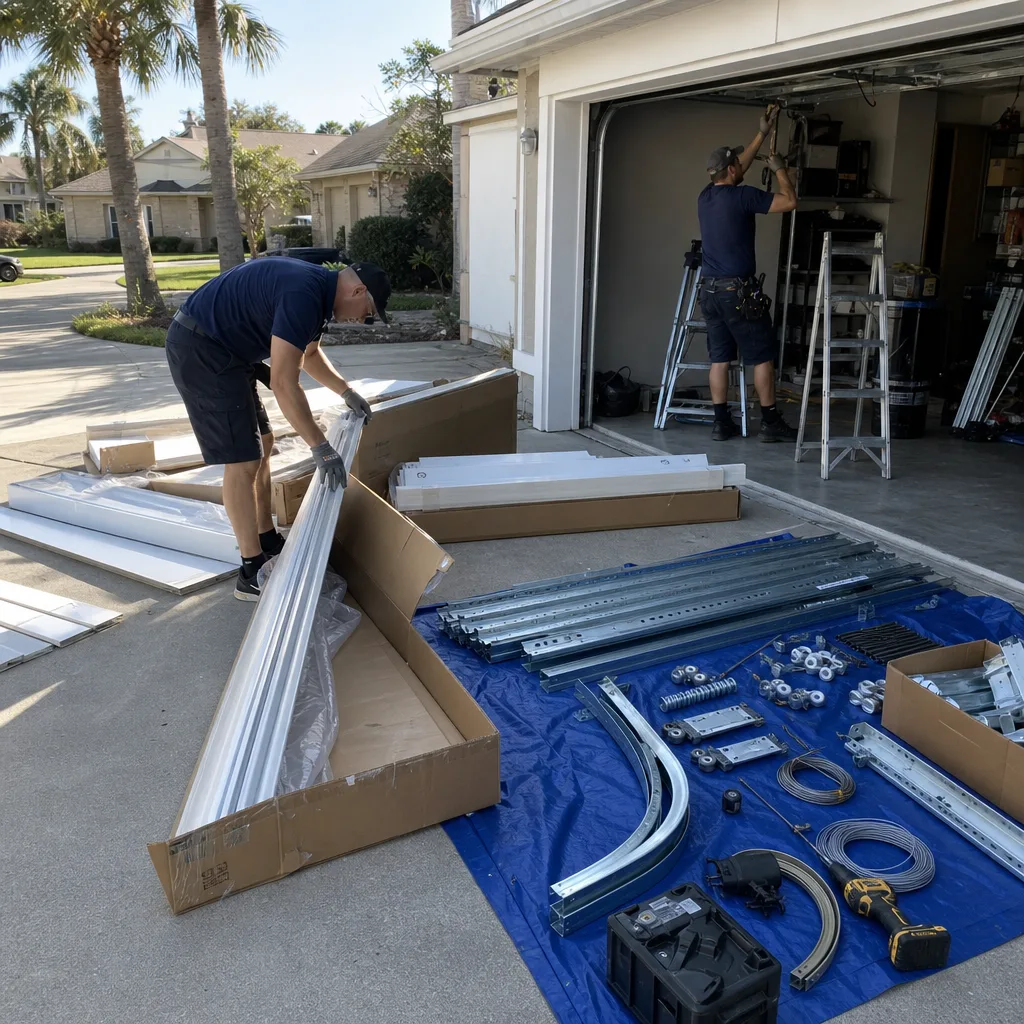
The single most useful maintenance habit in Tampa is not a lubricant schedule. It is a photo record. The reason is practical: every component on your door has a visible condition that either confirms or contradicts what a technician reports over the phone. If you have a photo of the failed part, you can verify that the quoted replacement matches what you observed. That one habit eliminates most of the risk in hiring a repair company.
What to photograph:
- The torsion spring, from the side, showing the entire visible coil length. Use a flashlight if the door faces south and backlighting is strong.
- The bottom seal, from inside and outside, at the point where you measured a gap.
- The cable drum and lift cable, at each end of the torsion shaft.
- Any roller that spun roughly or made noise, with the roller in the track.
- The opener unit’s model label, if visible, so you can identify which major brand you have, for example a Genie or a Chamberlain unit.
- A wide shot of the whole door from inside, so the technician can see track configuration, bracing, and any obvious alignment issues.
Why this matters: When you contact a repair company, you can describe what you saw, and you can send the photos. The company that asks to see the photos is doing the diagnostic work before dispatch. The company that says they will send someone out without asking for details is padding for a truck roll. At garage door installation in Tampa or repair, our process starts with the photo or the described symptom, then a flat written scope, then the visit. Clause 4 of The Haven Standard, the documentation system we work under, requires the technician to photograph the failed part before quoting a replacement. That photo record is delivered to you with every visit, not kept in our file. It exists so the paper trail matches what you saw with your own eyes.
Even if you never call anyone, this photo record is the easiest way to track change over time. A spring that looked clean in March and shows surface rust in September is telling you something about its remaining life. A bottom seal that compressed fully in January and gaps by June is telling you it is near replacement. The photos are the baseline every future inspection compares against.
Common Mistakes to Avoid
- Lubricating on a calendar instead of on condition. In Tampa, applying lubricant to every roller every three months creates a dirt paste. Inspect first, lubricate only when the bearing is clean and dry, and use only the right product.
- Replacing a cable without inspecting the drum. A frayed cable often sits in a worn drum groove. If you replace the cable but leave the damaged drum, the next cable fails in months. Photograph both before authorizing any work.
- Ignoring a visible spring coating failure because the door still opens. The door will open normally until the morning the spring snaps. Surface rust and flaking coating on a Tampa south-facing door are not cosmetic, they are the pre-failure condition.
- Testing safety reverse with your hand instead of the 2×4. Your hand gives inconsistent results and exposes you to injury. The 2×4 method is the only test that matches the federal standard.
- Using WD-40 anywhere on the door. Penetrating oil displaces moisture for a day and leaves a sticky film that holds Tampa dust. Use a silicone or lithium garage door lubricant only.
- Calling for service without photos. Without a photo record of what you observed, you cannot verify that the quoted failed part matches the actual finding. The photo is the paper trail.
- Assuming all companies quote the same way. Most will not give you a written price before dispatch. Ask for it. A company that works from a written, flat-priced scope before rolling a truck is documenting the agreement, not betting on it.
When to Call a Professional
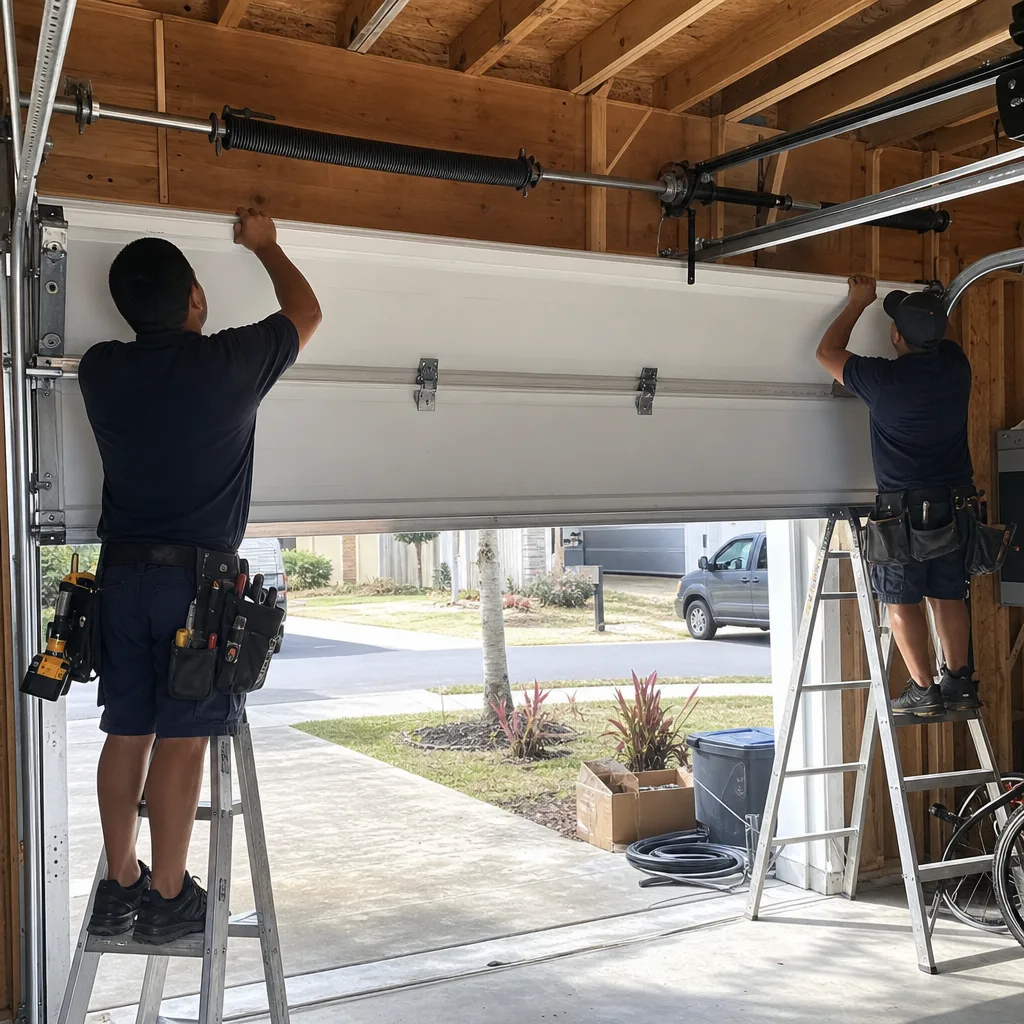
Call a professional when the torsion spring shows coating loss, surface cracking, or uneven coil spacing, because that spring is under lethal tension and requires specialized tools and training. Call when a cable is frayed or the drum shows groove wear. Call when the safety reverse test fails on any board position. Call when two or more roller bearings fail the spin test in the same inspection. Call when the bottom seal gap exceeds a quarter inch and water is entering the garage floor. These are the findings that end a maintenance checklist and start a repair scope. Servo Garage Doors Tampa offers free estimates to any Tampa homeowner who calls (656) 223-3036, and the price is flat, written, and delivered before work begins. If you have another company’s written estimate, bring it. We will compare it against what we actually find on the door, and give you a second opinion.
Frequently Asked Questions
Inspect the bottom seal and torsion spring every 60 days, the safety reverse every 30 days, and the rollers, hinges, and cables every 90 days. The Tampa-specific failure pattern, driven by salt air and humidity, is too fast for an annual checklist. A door within two miles of the bay needs the most frequent inspection.
A basic garage door inspection and tune-up in Tampa typically runs between $85 and $150 when performed by a licensed company, and some companies offer free estimates before the visit. The price should be written and flat before the technician arrives, otherwise the truck roll itself becomes the negotiating point. Read our How to Hire a Garage Door Contractor in Tampa: A Step-by-Step Guide to learn what to ask before booking. Servo Garage Doors Tampa quotes every job with a written scope and flat price first, including tune-up work.
Yes, you should expect it. Any competent technician can photograph the failed component and walk you through what the photo shows. Servo Garage Doors Tampa includes a documented photo record on every visit, showing what was found and what was done. If a company refuses to show you the failed part before quoting a replacement, that is a signal to get a second opinion.
Tampa’s summer heat and humidity expand the metal components and accelerate corrosion, which changes the sound profile of a door that is already developing bearing wear or spring surface cracking. The noise is often audible earlier in the day or during afternoon storms. If the sound is new, photograph the springs and rollers before the next meaningful inspection.
Our technicians carry the most common replacement parts, including bottom seals, rollers, hinges, cables, and torsion springs in standard sizes. For less common parts or specific track configurations, we order and schedule the follow-up visit. The written scope you receive before work starts tells you whether same-day completion is possible for your specific door.
No, and that is the point of a written scope. The price is quoted and agreed before any work begins, and it does not change unless you ask for additional work outside the original scope. That is Clause 1 of The Haven Standard, the system we work under. Call (656) 223-3036 for a free estimate that is written, flat, and quoted before the truck leaves the shop.
The Bottom Line
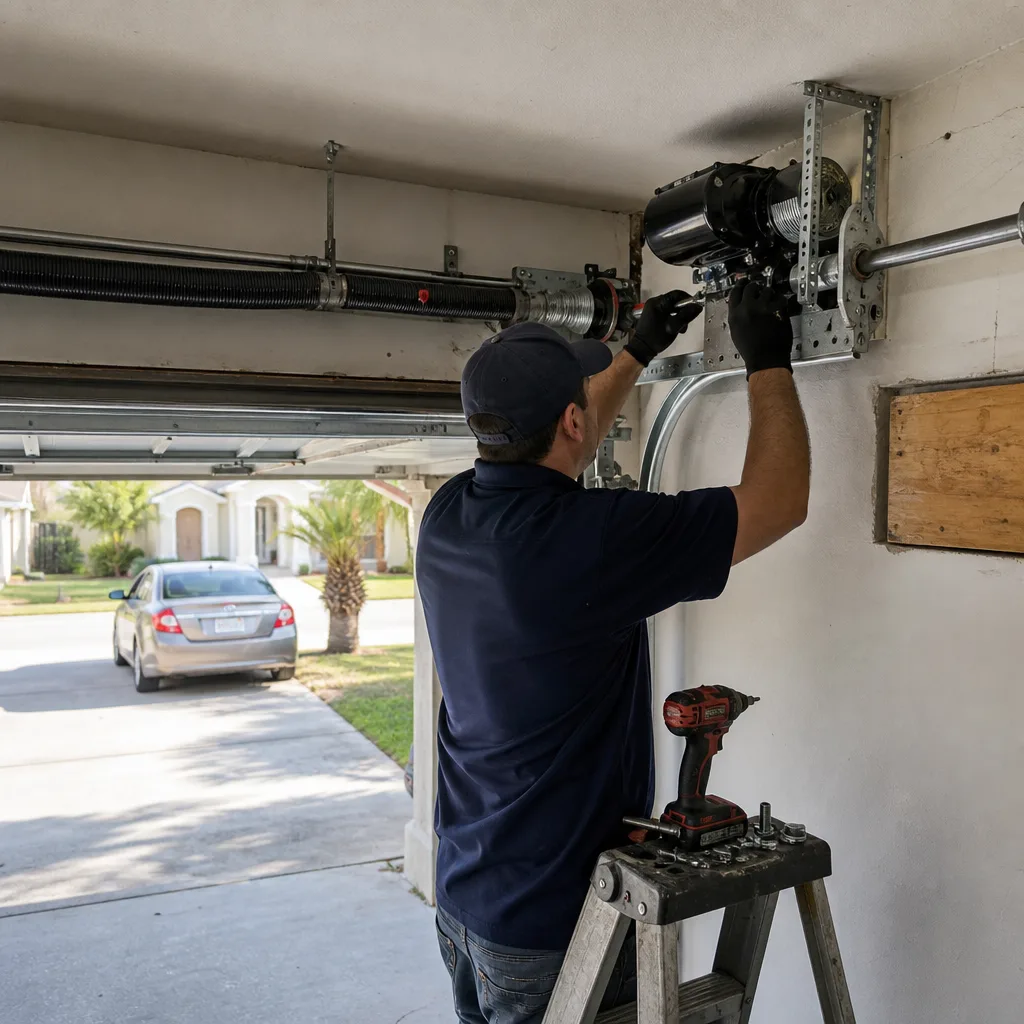
Tampa garage door maintenance is not a spring and fall ritual. It is a visual and tactile inspection of the specific components that fail fastest in this climate: bottom seals from UV and salt air, torsion springs from corrosion, and roller bearings from grit-filled humidity. The tests in this guide require no special tools, take minutes, and produce a photo record that makes every future repair conversation honest and verifiable. Document what you find, compare it against your previous photos, and when a finding crosses from wear to imminent failure, call a professional who will photograph the failed part and quote a written price before touching anything. That approach costs less over the life of the door than waiting for the morning the spring snaps.
Written by Marcus Deller, Owner at Servo Garage Doors Tampa, serving Tampa since 2015.